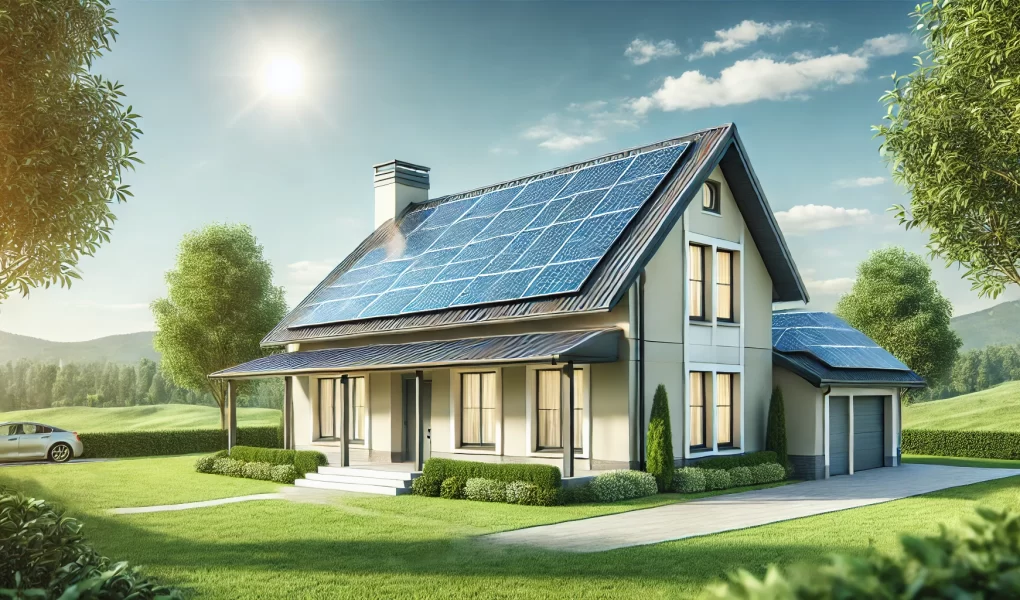
With solar energy becoming more affordable and accessible, many homeowners are considering making the switch to reduce their energy bills and carbon footprint. However, before enjoying the benefits of solar, it’s essential to prepare your home to ensure a successful and cost-effective installation. Here’s a step-by-step guide on how to get your home solar-ready.
1. Assess Your Home’s Solar Potential
Not every home is naturally suited for solar panels. Begin by evaluating your roof’s suitability for solar energy production. Consider the following:
- Roof Orientation and Tilt: South-facing roofs (in the northern hemisphere) capture the most sunlight, while flat roofs often require adjustable mounts. Check your roof’s pitch; ideally, a 30 to 45-degree tilt is optimal, but installers can also accommodate other angles.
- Sun Exposure and Shade: Observe your roof’s sun exposure throughout the day. Trees, buildings, or chimneys casting shade will reduce energy output. Solar technicians can assess shading to determine if adjustments or tree trimming is necessary.
2. Inspect and Prepare Your Roof
Solar panels are built to last 25 to 30 years, so your roof should ideally have a similar lifespan before installing. A few considerations include:
- Roof Age and Condition: If your roof is close to needing a replacement, replace it before installing solar panels to avoid dismantling and reinstalling them later.
- Repairs and Reinforcements: Check for any leaks, missing shingles, or structural weaknesses. Fix these issues before installation, as panels add weight to the roof.
- Material Compatibility: Solar panels work well with most roofing materials, but specific materials like slate and wood shingles may require specialized mounting. Consult your solar installer if you have a unique roofing material.
3. Analyze Your Energy Usage and Needs
A proper understanding of your home’s energy consumption will help tailor a solar system that meets your needs:
- Energy Audit: Conduct a home energy audit to understand your monthly consumption patterns. This information helps determine the ideal system size, avoiding under- or over-sized installations.
- Future Energy Requirements: Plan for any future energy increases, like a potential electric vehicle (EV) charger or a new air conditioning system. It’s often wise to slightly oversize the solar system to accommodate such additions.
4. Research Local Permits and Regulations
Solar installations usually require permits, and some areas have specific zoning requirements:
- Permits and Inspection: Solar panel installations often need local government approval, and it’s critical to submit paperwork for electrical and structural inspections. Licensed solar companies are typically familiar with these requirements and can handle the paperwork.
- Homeowner Association (HOA) Rules: If you belong to an HOA, check their policies on solar panels to avoid conflicts. In many states, HOAs are required to allow solar installations, but regulations vary by location.
5. Choose the Right Solar Installer
Working with an experienced installer is crucial. Look for these qualities:
- Experience and Reputation: Research licensed and certified solar installers with solid customer feedback. Look for companies that offer both installation and maintenance services.
- Warranties and Maintenance Plans: Ensure the installer offers warranties for equipment and labor, typically 10-25 years for panels. Maintenance plans can also help with system upkeep.
6. Optimize Your Home’s Energy Efficiency
Before installing solar, take steps to reduce your overall energy usage. This can improve your system’s cost-effectiveness:
- LED Lighting and Efficient Appliances: Replace incandescent bulbs with LEDs, and switch to energy-efficient appliances. This minimizes your baseline electricity demand.
- Insulation and Sealing: Seal windows, doors, and attic spaces to prevent heat loss or gain, making your home more energy-efficient and reducing the solar system’s load.
7. Plan for Energy Storage Options
Adding a battery backup system can help you store excess energy for nighttime use or during grid outages:
- Battery Selection: Not all solar systems include storage. If energy independence is a priority, look into battery options like lithium-ion systems, which are popular for residential use.
- Financial Incentives: Many states and local governments offer rebates or tax incentives for energy storage systems, reducing the upfront cost.
8. Explore Financial Incentives and Rebates
Government incentives and financing options can significantly offset the cost of solar installation:
- Federal Tax Credit: The U.S. federal government offers an Investment Tax Credit (ITC) for solar installations, which currently provides a substantial tax reduction.
- State and Local Programs: Many states offer additional rebates or tax breaks, and some utilities have net metering policies, allowing you to sell excess electricity back to the grid.
- Solar Loans and Leasing Options: Solar installers often provide financing options, including loans, leases, or power purchase agreements (PPAs). Choose the one that best suits your financial situation and ownership preference.
9. Schedule an Installation Day Walkthrough
Once your home is prepared and everything is in order, plan for a pre-installation walkthrough with your installer:
- Final Roof and Site Assessment: The installer will double-check your roof condition, measure for placement, and ensure all components are ready.
- Installation Day Checklist: Discuss the installation timeline and any specific site preparations needed. Most installations take only one to three days, but timelines vary.
Final Thoughts
Preparing your home for solar panels is a thoughtful investment in the planet and your finances. By assessing your roof, optimizing your energy needs, and researching reputable installers, you can ensure a smooth transition to solar energy. Solar panels will soon start to pay for themselves, but a little preparation now can maximize those savings and benefits in the long run.
With a carefully prepared home, you’re one step closer to a sustainable and energy-efficient future!


